Why a good Webflow handover matters
When a Webflow site is ready, the work is not finished. The client must be able to edit the site, own it and not be afraid to break it. This is the handover process I use on my client projects: client seats, Components, a clear CMS, a training video and a written guide.
I have handed over corporate websites with 10–15+ pages and 2–4 CMS collections, for example for Alfabet and Benson LAW. Most clients have no Webflow experience, and their first worry is always the same: "What if I break something?" Below is what I prepare, so they do not have to worry.
What a good Webflow handover includes
A good handover is more than sending a login. The client gets six things:
Step 1: Give the client the right access
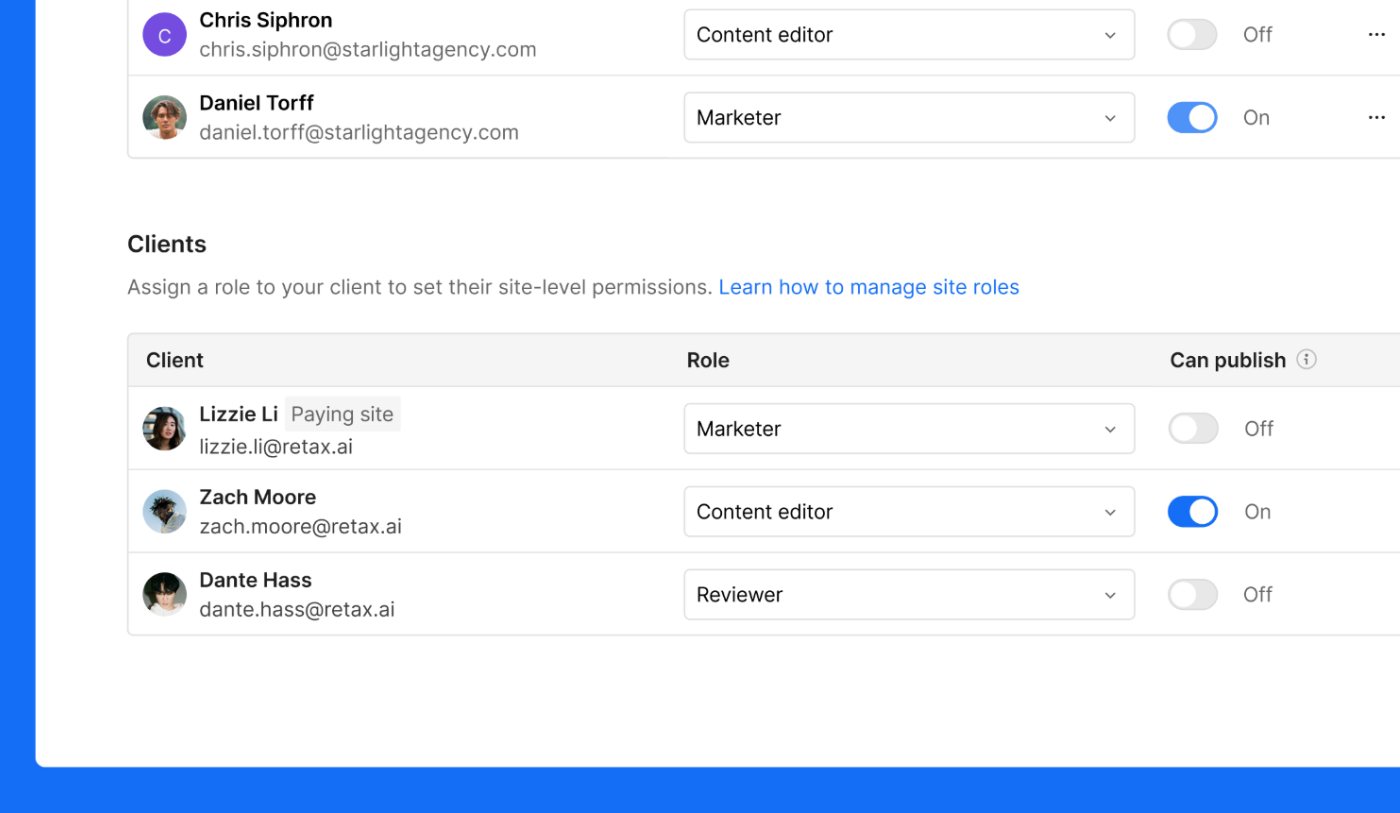
In 2026 Webflow replaced the old Editor with client seats. If you are looking for the Webflow Editor, this is the new way to give a client access. Client seats are free on Freelancer and Agency Workspace plans, and the client needs a Webflow account. The old Editor stopped working on August 4, 2026.
There are three roles:
- Marketer: builds and edits pages with Components and templates.
- Content editor: updates text, images and CMS content.
- Reviewer: views the site and leaves comments.
For a corporate site, Content editor is usually enough. I give Marketer to clients who want to build new pages from Components. Reviewer fits people who only need to check the content.
There are two ways to handle ownership. In my projects for Alfabet and Benson LAW, I built the site in my Workspace and then moved it to the client's Workspace. Another way is that the client creates a Workspace and invites me by email, or I build directly in the client's Workspace. Both ways work. In all cases the client pays for the Site plan and the domain, so the site belongs to the client.
During the project I publish the site and connect the domain myself. The client does not need to touch DNS.
Step 2: Make the site safe to edit with Components
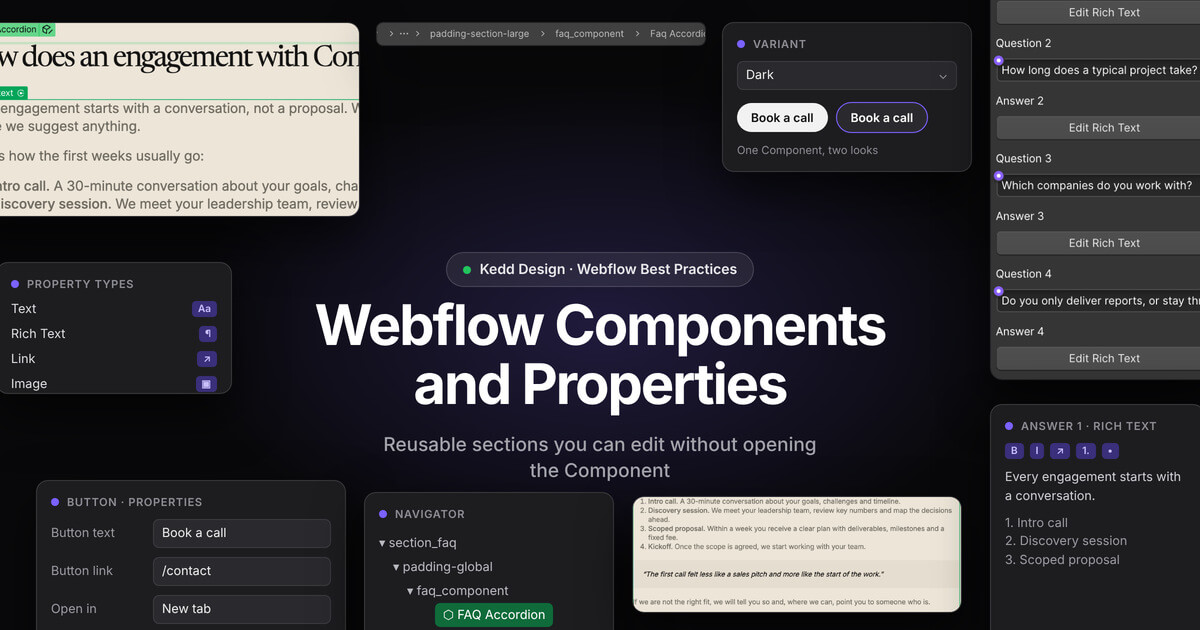
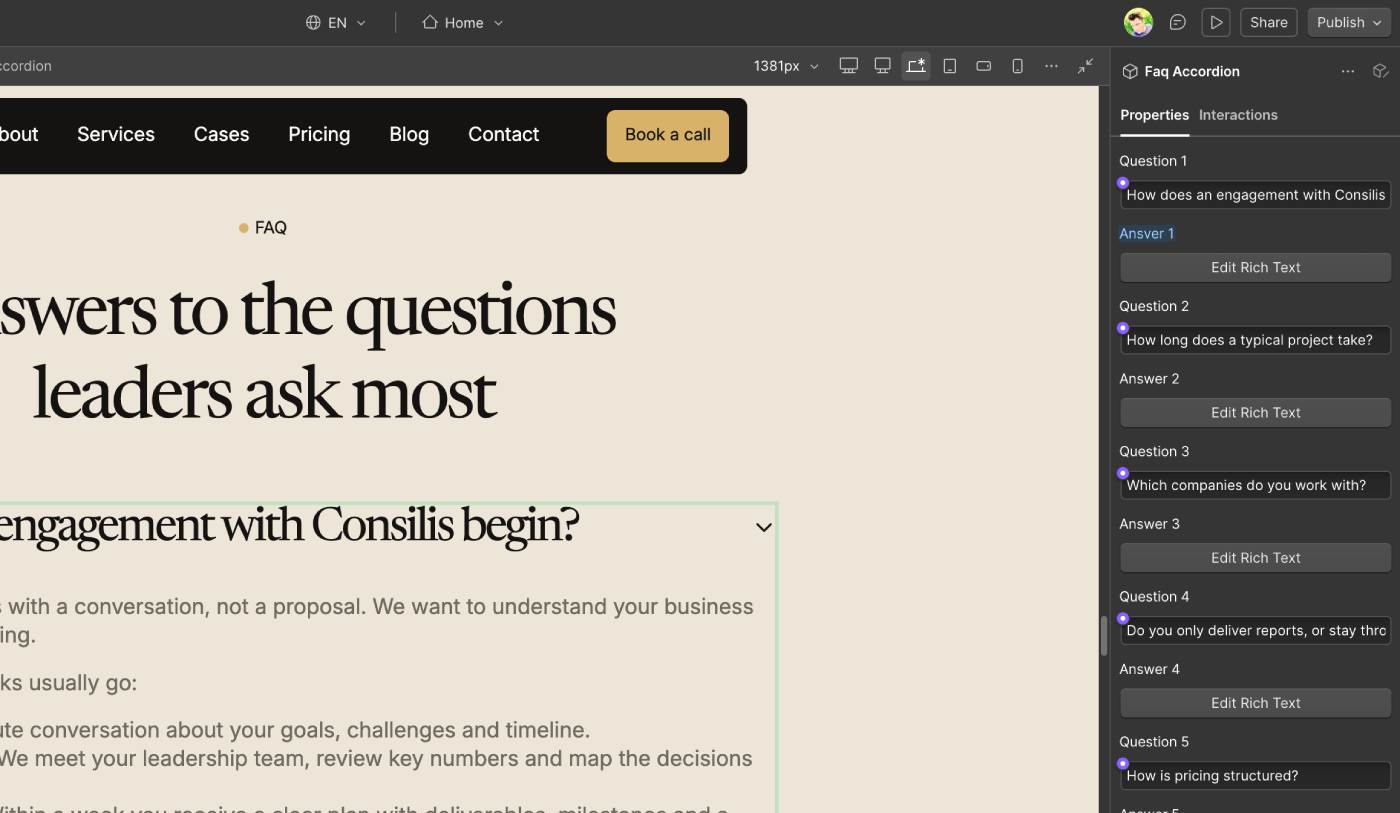
Sections that repeat on many pages should be Components. I make these Components: header, footer, CTA, cards, FAQ, team and other info sections that repeat. Then I move the texts into Component Properties. The client changes the text in a simple field and does not need Designer.
Benson LAW wrote about it in their review: "Sections that repeat across multiple pages were built as Components, so they're easy to edit without opening the component itself."
I also build the layout so that nothing breaks if the client uploads a different image or writes a longer heading. I use Client-First for this, with clear class names and a simple structure.
Step 3: Prepare the CMS for a person with no experience
Questions about CMS collections are the most common after launch. Clients ask how to fill in the fields, skip some of them, and do not know the right heading hierarchy. I solve most of this when I build the CMS. A clear plan before the build also makes the site easier to edit. See how to plan a complex Webflow project.
Give every field a clear name
The client should read the field name and understand at once what to enter.
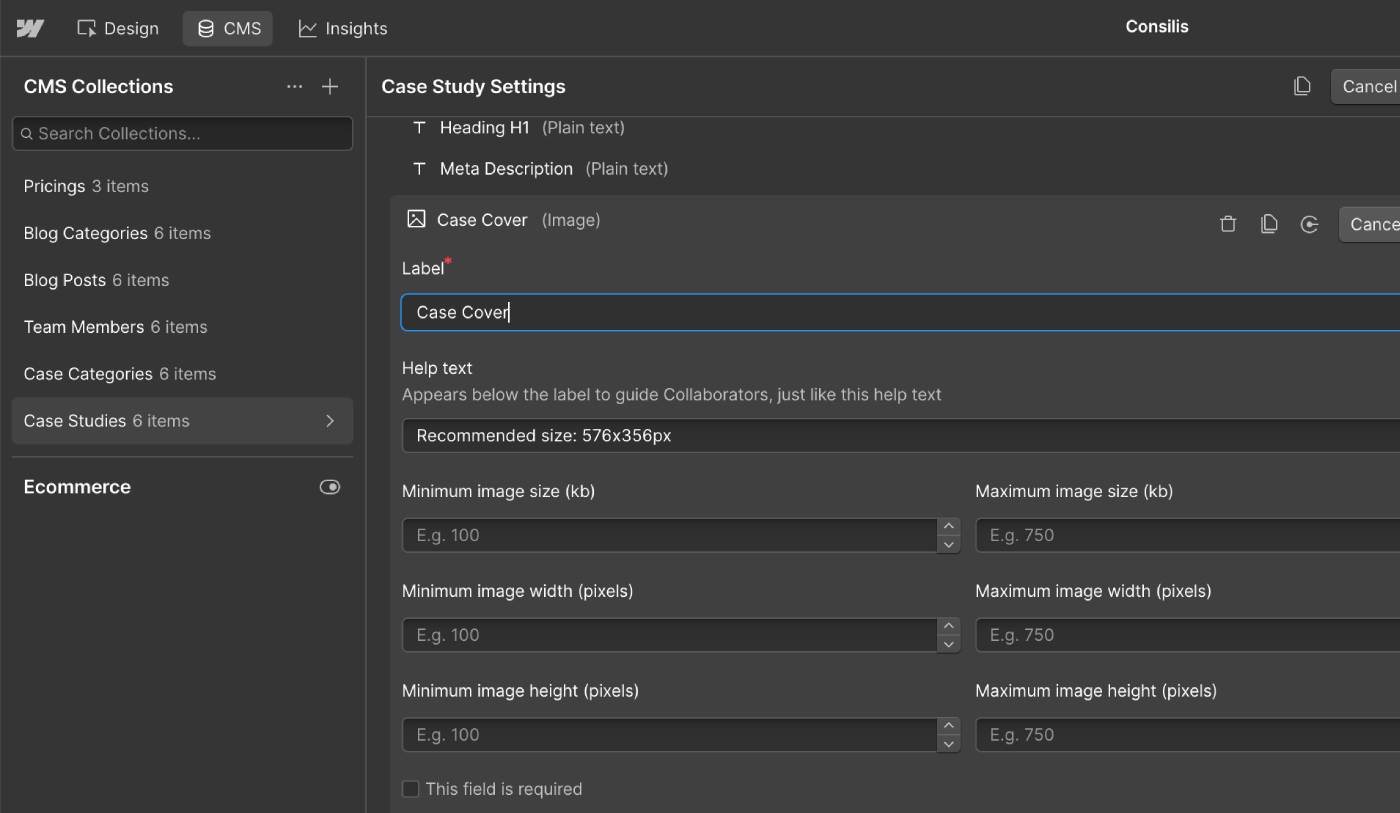
Add Help text to the main fields and images
For important fields and images I add a note: the best image size and the maximum number of characters for a heading or a text. If the client follows it, nothing breaks. If the client does not, the layout is built so that it still holds.
Use multi-reference fields to keep collections small
Where possible I use multi-reference fields to show information from other collections. The client adds the information in one place, and the collection has fewer fields. This also helps with the Webflow limit of 60 fields per collection. You can see how I plan CMS collections in my Consilis template.
Add SEO fields to every item
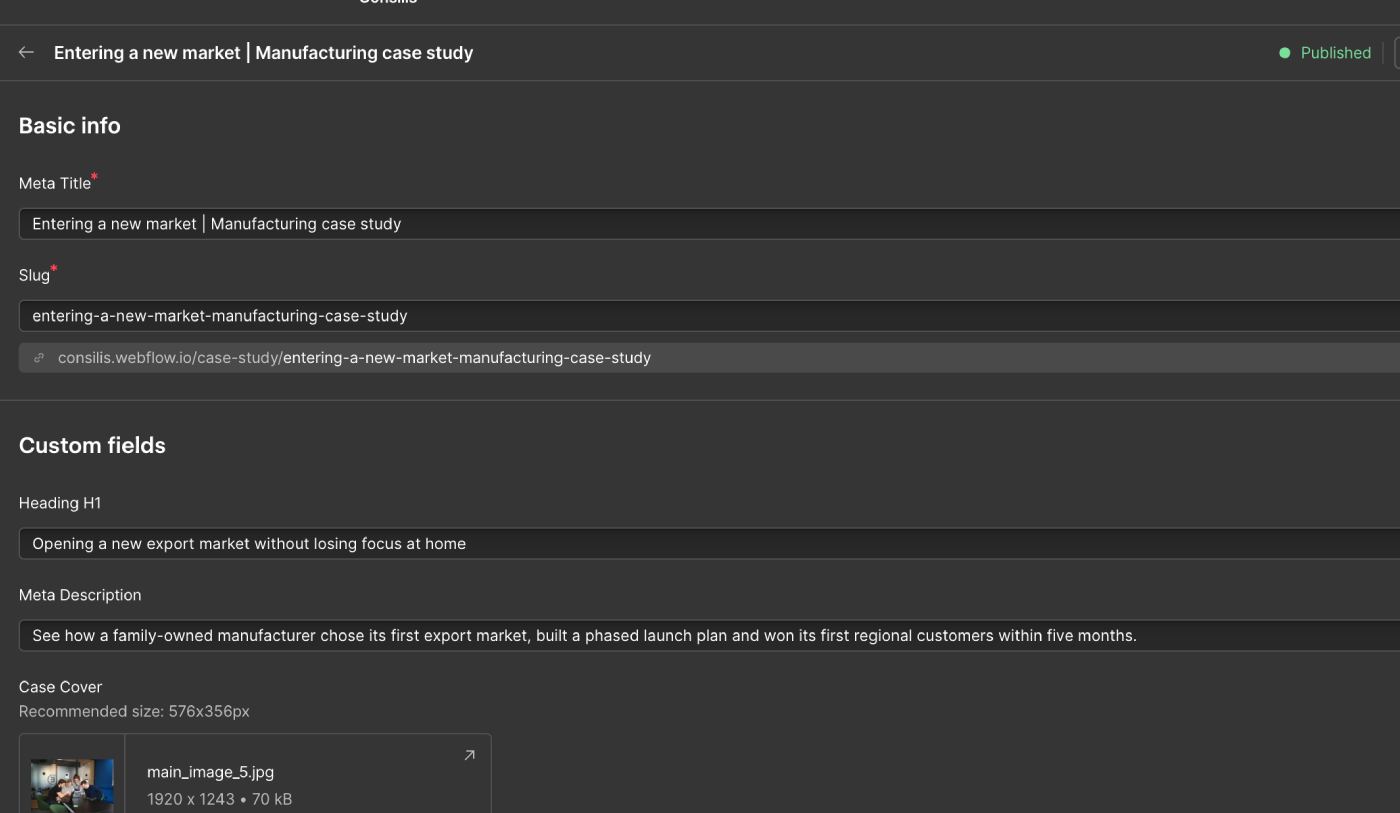
I always add separate SEO fields: SEO title, SEO description, H1 heading and image ALT. ALT text can be taken from other fields, and some images can have a decorative (empty) ALT.
Remove empty fields and explain the headings
I remove fields that are not needed or stay empty, so they do not show on dynamic pages. For headings, I explain the hierarchy in Help text: one H1 per page, then H2 and H3 in order. In the first weeks I also check how the client adds content. For Benson LAW I built 27 Services items and 15 Practice Areas items with a 5-question FAQ in each, so a clear CMS was very important.
Step 4: Record a short training video
I can run a live meeting on Zoom or Google Meet. But in my experience, clients prefer to watch a video that I record. I show what to do, and then I answer questions in chat. The client can watch the video again at any time.
In the video I show how to log in, edit text, change an image, edit a Component, add a CMS item and publish changes.
Step 5: Write a short guide
When the project needs it, I write a guide in Notion, Google Docs or PDF. It has screenshots and clear explanations: how to edit collections, how to change information on the site and how to work with Components. I keep it short, so the client can find the answer in a minute.
Step 6: Ask the client to make a real edit
At the end I ask the client to show what they have learned. For example, to change a few headings, an image and the text in the footer or header Component. If the client can do it alone, the handover is working. If not, I explain the step again.
Step 7: Transfer ownership and accounts
The client gets everything needed to fully own the site: domain, DNS, Search Console, Analytics, forms, email and all other information. The client pays for the Site plan and the domain directly, so there is no dependency on me. I use the same handover after a WordPress to Webflow migration.
After the handover: 30 days of support
For 30 days after launch I stay in touch and help for free with any question. Alfabet wrote in their review: "He also taught us how to edit the content and change images ourselves."
If the client needs more work or wants to grow the site, we agree it separately. For regular updates, fixes and new sections, you can choose Webflow support and maintenance.
Conclusion
A good handover is simple: the right access, Components for repeating sections, a clear CMS, a video and a short guide, and a first edit made by the client. After that the client can run the site alone, and I am still there if help is needed. If you need a site built and handed over like this, see my custom Webflow development service.