Why plan before you design
A complex Webflow project is hard to fix after the design is ready. If the designer forgets a CMS field, or the same section looks different on every page, the developer has to change the design again. This case shows the plan I make before the design starts: content, page structure, sections, CMS and SEO fields.
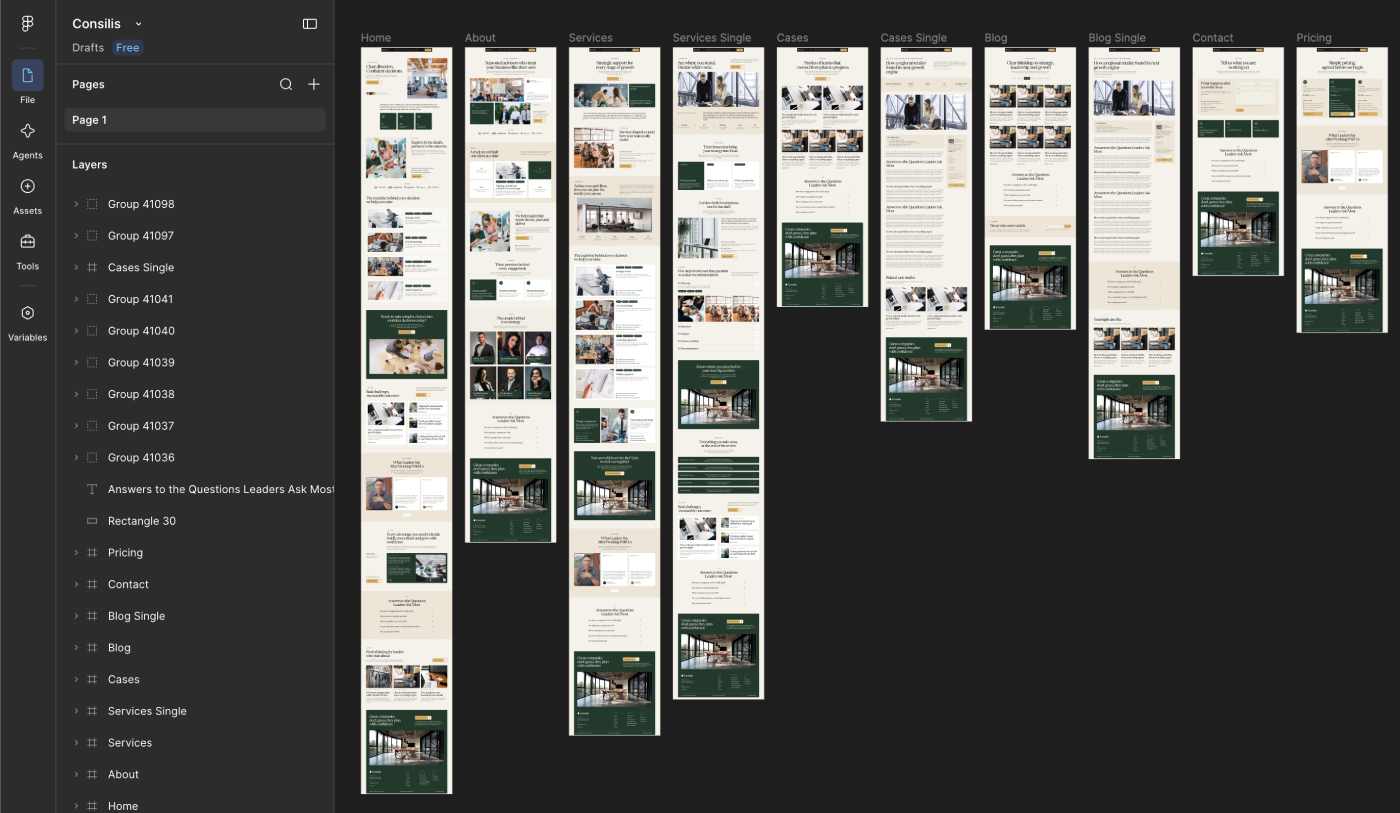
As an example, I use my latest template, Consilis. It has 11 static pages, 5 system pages, 6 CMS collections and more than 30 different sections.
I also show how the same ideas work on a real client site, Benson Law.
What makes a Webflow project complex
A project is complex when many things depend on each other. Usually it has:
- many pages, and not only a few static ones;
- several CMS collections that are connected to each other;
- sections that repeat on different pages;
- dynamic pages with many fields, such as author, dates and related items;
- a team that will edit the content after launch.
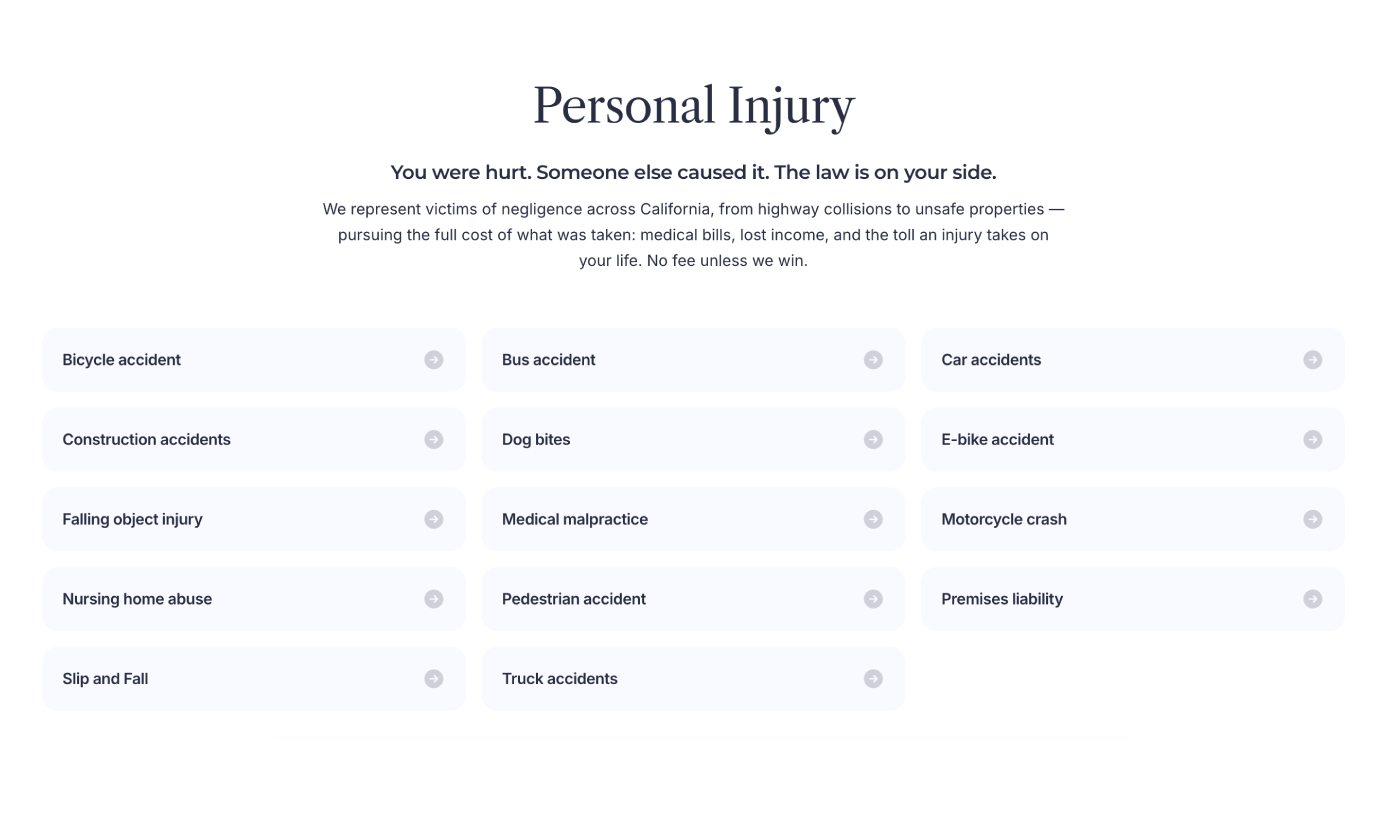
In Consilis, the blog, the case studies, the team and the pricing all come from the CMS. On the Benson Law site, one list of 27 practice areas is shown in three groups on the Practice Areas page, and the same items appear again on the home page. If this is not planned before the design, every new field or section means another design change.
Step 1: Collect the content and study the business
I start with the information. I ask the client for the content, a list of pages, the Figma file if there is one, and all details about the business. I also analyze the competitors in detail.
From this information I build the structure of every page. Then I make prototypes with the real content, then the design, and only then the development in Webflow. When I open Webflow, I already have the designs of all pages, with a clear structure and all the sections the site needs.
Step 2: Build the sitemap and the URL list
I keep the structure of the site in Figma, and all URLs in a table. For Benson Law, the planning started from the client's list: 27 different legal services, which became 27 practice area pages.
The URL (slug) should contain the main keyword that the page or the collection item is about. If I need to change a URL later, I set a 301 redirect, so the old link keeps working.
Step 3: Split every page into sections
I split a page into sections according to the content it needs. The order is logical, from the first section to the last. For every page I make a list of sections.
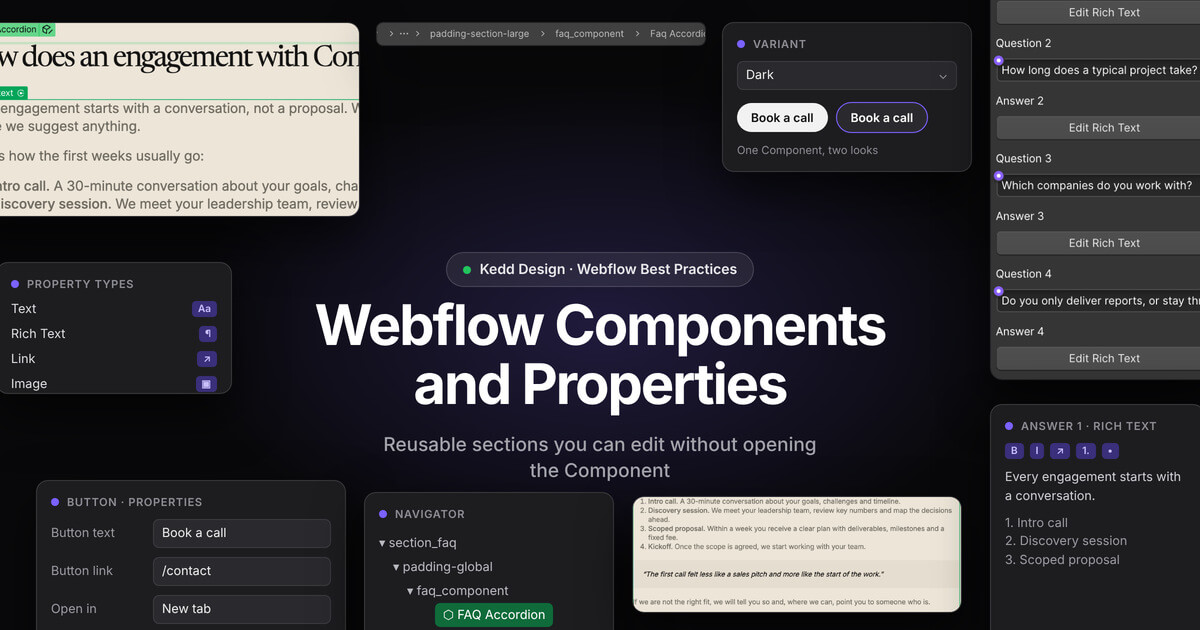
Then I check which sections repeat. A section that is used on more than two pages becomes a Component. For example, the same call-to-action block, "Get your 100% free consultation", is on both the home page and the Practice Areas page of Benson Law. It makes sense to build such a block once and reuse it. You can read more about reusable Components with Properties in my other case.
Step 4: Plan the CMS collections
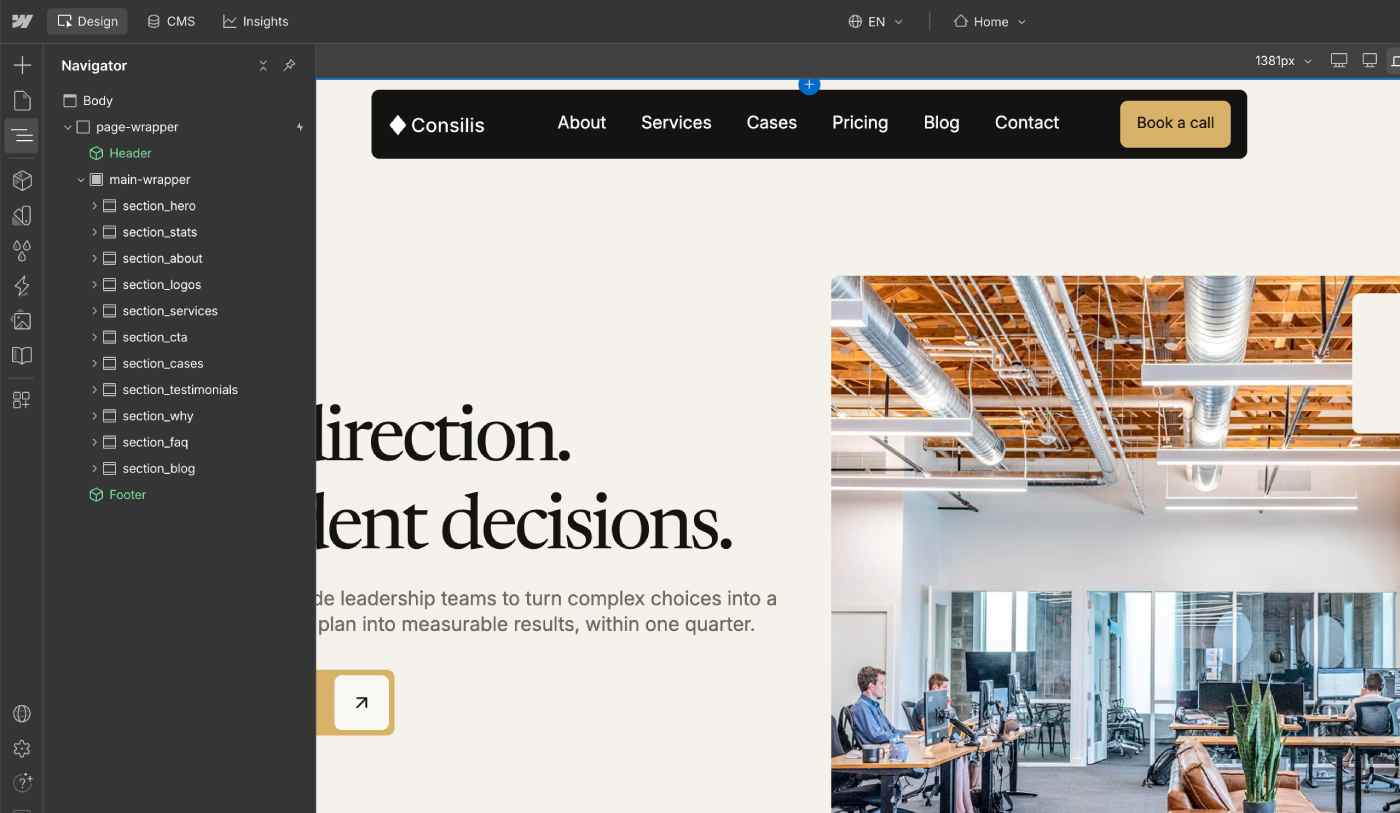
I use a CMS collection when there is a lot of information, the page structure repeats and the items belong to one category. In Consilis there are six collections:
- Pricings
- Blog Categories
- Blog Posts
- Team Members
- Case Categories
- Case Studies
The collections are connected with each other. For example, Case Studies has an Author field that uses a multi-reference to the Team Members collection. This is very convenient: the author's data is edited in one place, and it changes in all the cases at once. You can see how Consilis is built in a separate case.

Make a CMS scheme before you build
The fields depend on all the information that the page must show. Before building, I make a table with the CMS scheme. It shows how many fields each collection has, which fields repeat, and which collections can be linked. Where it helps, I use Reference and Multi-reference fields. This is also how I keep the number of fields small.
Remember the limit of 60 fields
A Webflow collection can have only 60 fields. You cannot add more, unless you buy extra limits in your plan. So the number of fields is a planning question, not a detail you solve at the end. A good way to save fields is to move FAQ into a separate collection, and to connect it to the page with a reference. For more about this topic, see my Webflow CMS guides.
Step 5: Plan SEO fields and FAQ from the start
I add SEO fields to every collection right away, and separate FAQ fields where they are needed. It is much easier than adding them to 30 or 40 items later. On Benson Law, every practice area page has its own FAQ, and the client wrote about it in the review: "added a 5-question FAQ section for each item."
Step 6: Prepare the Client-First base before the build
Before I build any page, I prepare the base of the project. I follow Client-First and the class naming rules I use in every template.
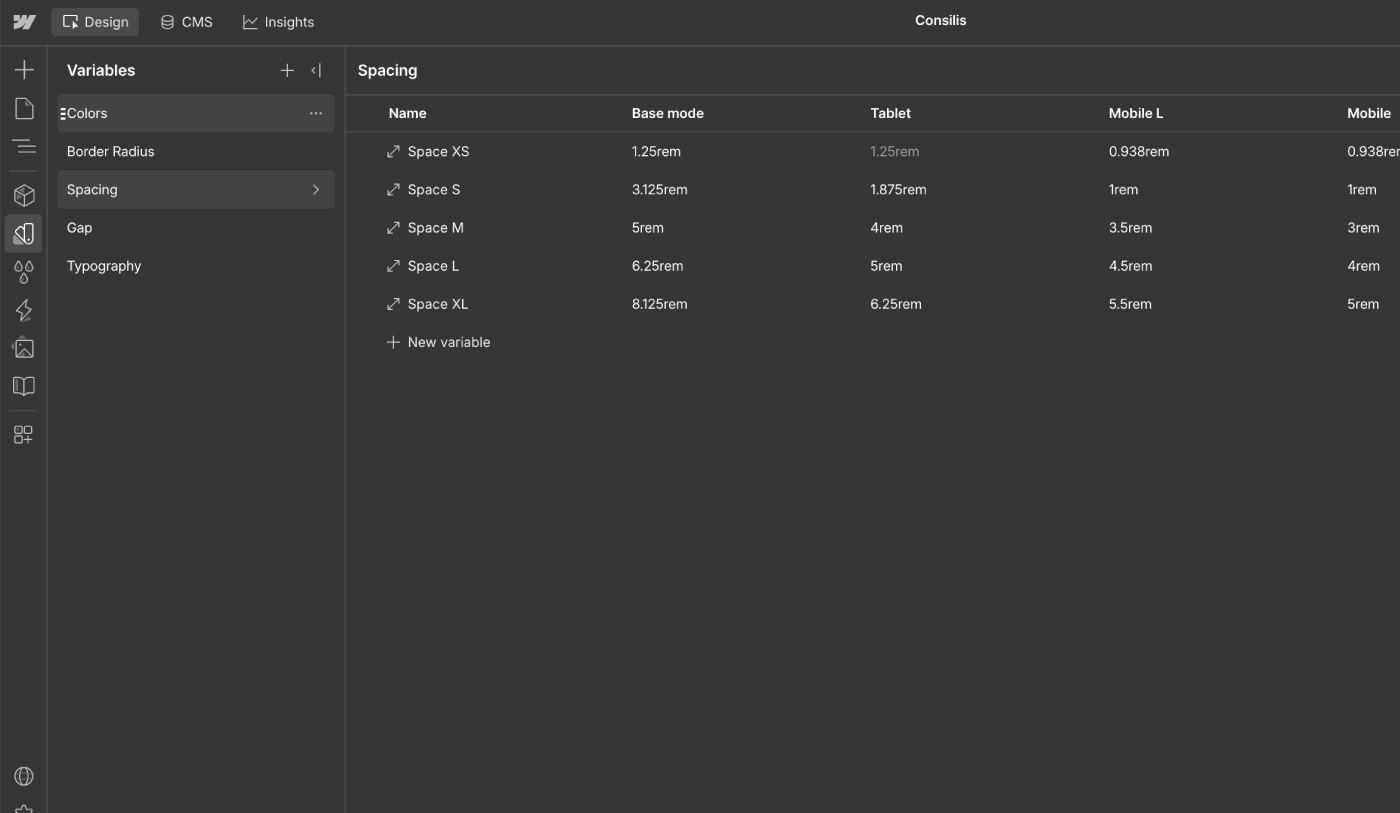
- Variables for fonts, colors, spacing and gaps.
- Base classes for text: all headings from H1 to H6 and the rich text.
- Base classes for structure: body, page-wrapper, main-wrapper, section, padding-global and container-large.
- Section spacing: padding-section-large, padding-section-medium and padding-section-small.
With this base, every new section looks like the rest of the site, and the page structure is the same on all pages.
Step 7: Give the designer a clear plan
I can design the site in Figma myself, or build from a design made by someone else. In both cases the designer gets a clear plan before the work starts:
- the list of sections for each page;
- the CMS scheme, with the fields that every dynamic page must show;
- the length limits for headings and texts where they matter;
- the image sizes, and how a page looks when an optional field is empty.
Then the designer does not have to guess what the CMS can show, and I do not have to change the design after it is ready.
Example: how I planned the Consilis template
For Consilis I followed these steps: information about the business, the structure of every page, prototypes with real content, the design, and then the Webflow build. The plan had 11 static pages, 5 system pages, 6 CMS collections and more than 30 different sections. Because the sections and fields were planned first, the structure was clear from the start, and every section is easy to reuse.
Common mistakes when planning a complex project
These are the mistakes I see most often:
- The designer forgets the fields of dynamic pages. For example, the creation date, the update date, the author, the author photo and the text about the author.
- There is no section with related items. A case page can end without a block of similar cases.
- The CTA section is different on every page. It should be one section, so it can be one Component.
- H2 and H3 sizes are different on different pages. The fix is a base class for every heading level.
If the design was made without a CMS plan, it can still be fixed. I add the missing fields and change the design so that everything looks logical and is easy to use. In some places it is hard, but it is possible.
What the client gets from a good plan
When the plan is ready before the design, the client gets fewer design changes, a faster project and a site that is easier to edit. The structure is clear from the start, so it is easy to add new sections that show the content in full. After the launch, the same plan makes the handover of the site to the client much easier.
Conclusion
A good plan for a complex Webflow project has seven parts: content, a sitemap, a list of sections, CMS collections, SEO fields, a Client-First base and a clear brief for the designer. If you need a site built like this, see my custom Webflow development service.